先日、「日々のタスクをどのように管理するか」というタイトルで、タスク管理の方法、およびタスク管理ツールの「Asana」をご紹介しましたが、Asanaの無料は連携機能が充実しておらず、若干使いづらいと感じました。
今回は、Todoistというツール(無料版)を使用してタスク管理を利用して、チケットシステムやチャット、カレンダーシステムとの連携出来る環境を構築します。
- 目標やタスク管理を効率的にどのように行うか定まっていない方
- 日々の仕事やタスクに忙殺される方
- TodoistとGoogle Calendarの連携方法がわかる!
- TodoistとSlackの連携方法がわかる!
- TodoistとJIRAの連携方法がわかる!
タスク管理の考え方などは、下記の記事で説明しています。合わせて読んでいただけますと幸いです。

タスク管理では、どのようなこと何がやりたいのか?( 理想的なタスク管理 )
私が、タスク管理に求める要求としては下記のようなものがあります。
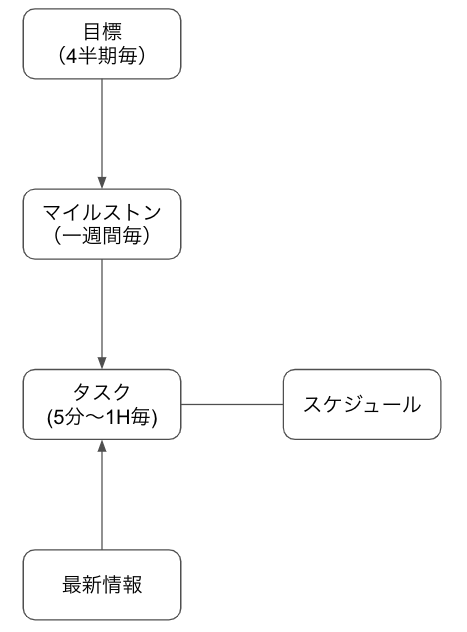
- 四半期といった中長期の目標、一週間程度のマイルストンを作成したい。
- 一つのタスクが5分〜1H程度のタスクを一週間分作成したい。
- Slackにフィードされた最新の情報を受けたら、必要に応じてタスク化したい
- 上記のうち一部のタスクをスケジュール化したい。(カレンダーに入れたい。)
タスク管理を設計する
エンティティ関連図
上記の要求事項を整理すると下記のようなイメージになります。
ツール概念図
シームレスに統合することで、それぞれの特徴を活かしながらタスクを管理することが可能です。
全てを1つのI/Fになっているシステムやツールがあれば良いのですが、なかなかそうは行きません。
下記のツールを組み合わせて実装してみます。なお全て無料プランです。

各ツールの仕様を確認する
Todoistの機能を紹介
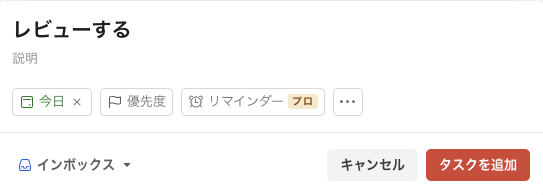
タスクをクイックに追加
タイトルを追加するだけで、タスクを素早く追加できます。
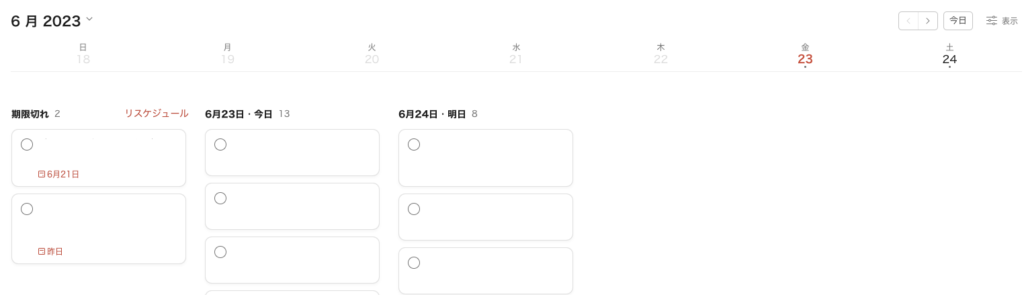
タスク画面を好みの画面に変更
リストの他、かんばんスタイルで切り替えができます。
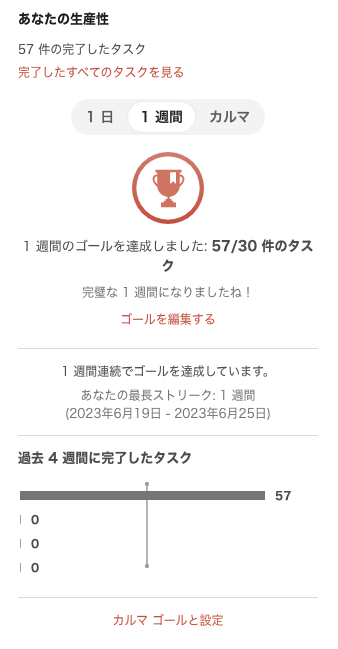
進捗を可視化
生産性を可視化できます。
他のアプリケーションとのIntegration
各SaaSアプリ等と、統合できます。連携できる機能はこちらを参照。
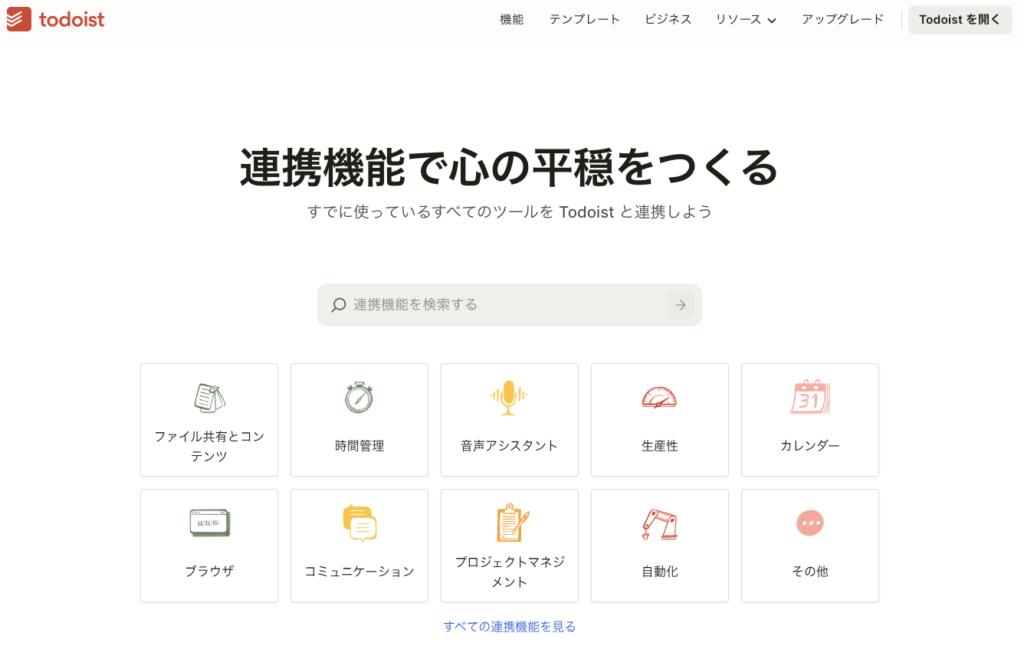
今回使用する機能は次章で解説します。
Todoistと各種機能の連携を解説( JIRA , Slack , Google Calendar)
JIRAとTodoistの連携機能 ( JIRA と Todoist )
- JIRAの課題からTodoistにタスクが追加されます。
TodoistとSlackの連携機能 ( Slack と Todoist )
- Create new tasks
/todoistコマンドを使用して、Slack 内から新しい Todoist タスクを作成します。 期日と時刻、ラベル、プロジェクト名を含めることができ、他のすべての Todoist アプリと自動的に同期されます。
- Add Slack messages as tasks
- 3 点メニューをクリック (またはモバイルではタップ) するだけで、Slack メッセージを Todoist タスクに変換できます。
- Complete tasks
/todoistコマンドを使用して Todoist タスクを追加すると、Slack 内からそのタスクを完了できるようになります。
- Update delegated tasks
/todoistコマンドで作成されたタスクでは、そのタスクの委任先を変更することもできます。
TodoistとGoogle Calendarの連携機能 ( Todoist と Google Calendar )
- リアルタイム同期
- イベント名の編集や日程の移動などの Google カレンダー上での変更も、瞬時に Todoist に反映されます。逆の場合も同様です。
実装
1. JIRAとTodoistを連携 ( JIRA と Todoist )
JIRAの課題を作成すると、Todoistのタスクが自動で作成されます。
JIRAにTodoistアプリケーションをセットアップ
JIRAアカウントは作成済みという前提で、Todoistと連携します。
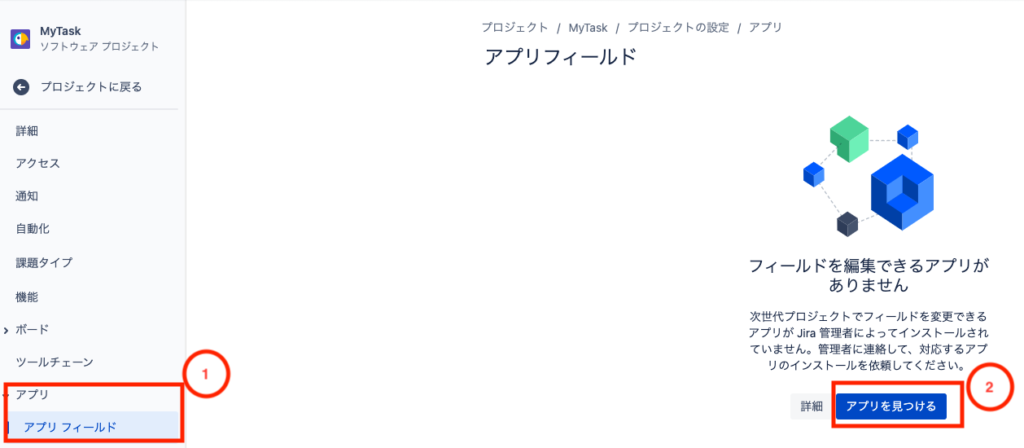
1. ナビゲーションペインから①.アプリフィールドを選択し、②「アプリを見つける」をクリックします。
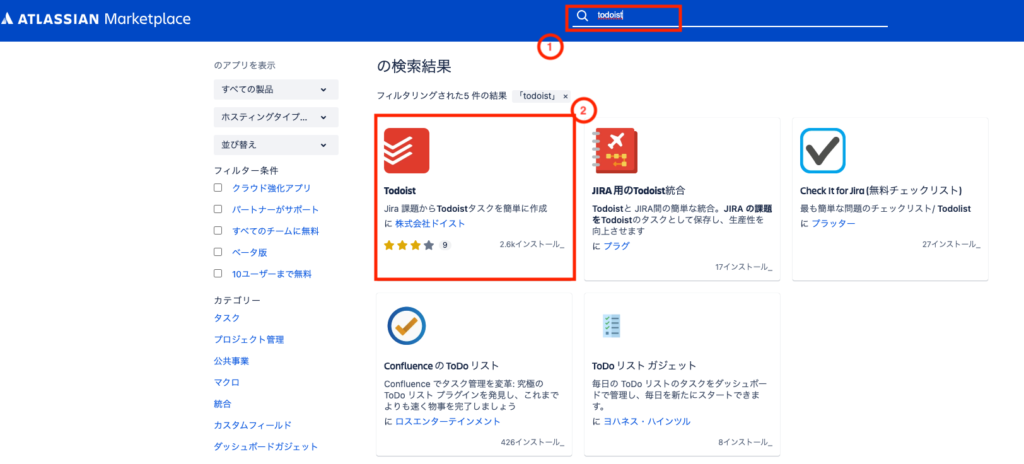
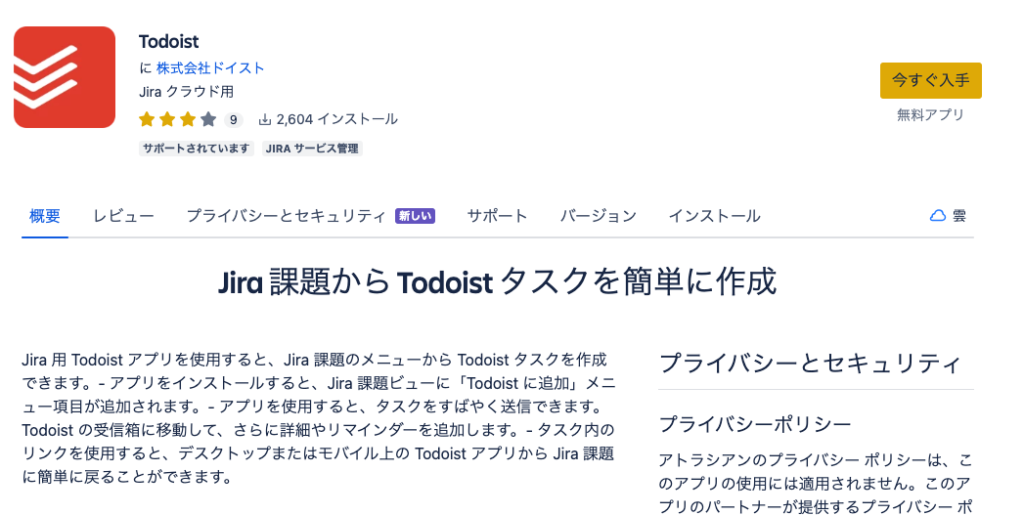
2.別ウィンドウが起動するので、①サーチコンソールに「todoist」を入力すると、候補が出るので②「Todoist」をクリックします。
3. 「今すぐ入手」をクリックします。
4. ポップアップされるので、「ログインして」をクリックします。

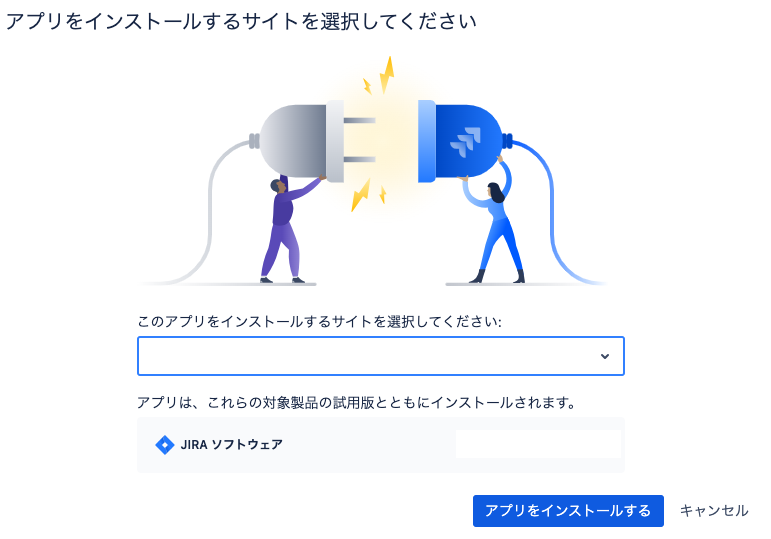
5. インストールするサイトを選び、「アプリをインストールする」をクリックします。
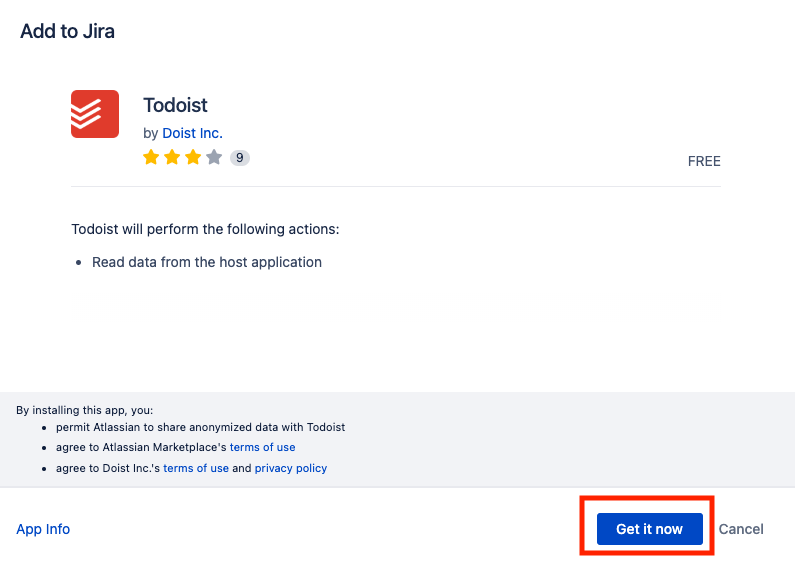
6. 「Get it now」をクリックします。
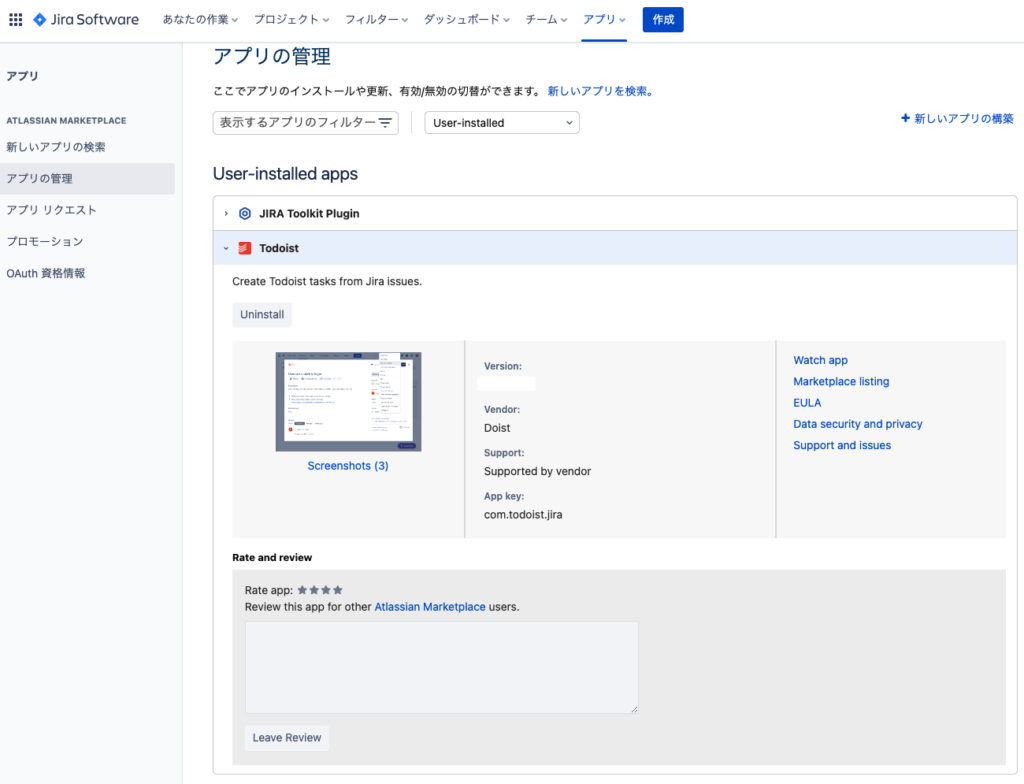
7. インストールされていることがわかります。
課題の作成( JIRAチケットを作成し、Todoinstに連携する )
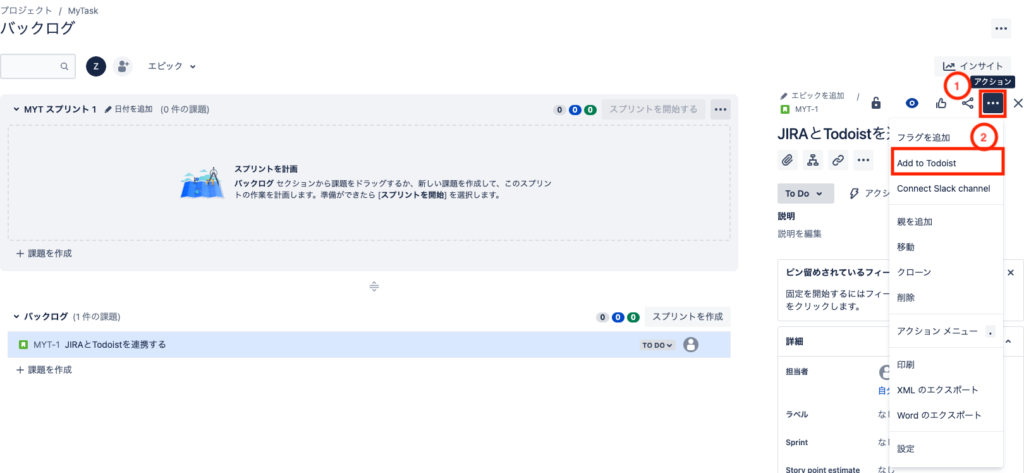
1.JIRAの課題を作成し、①「・・・」を選択し、②「Add to Todoist」をクリックします。
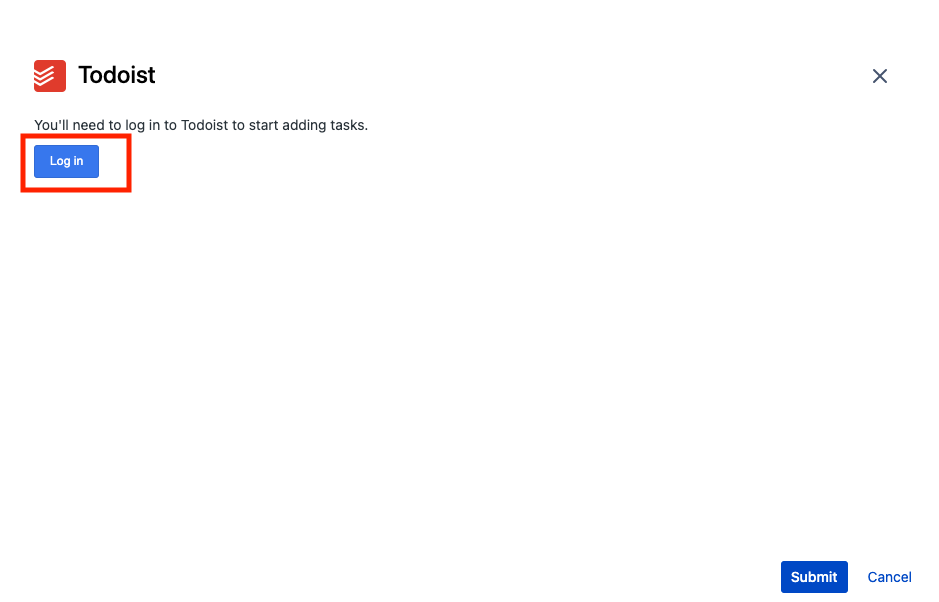
2. ウィンドウが立ち上がるので、Todoistの「Log in」をクリックします。
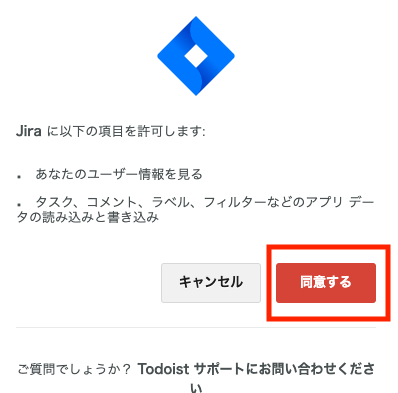
3. 「同意する」をクリックします。
4.「Add task」をクリックします。

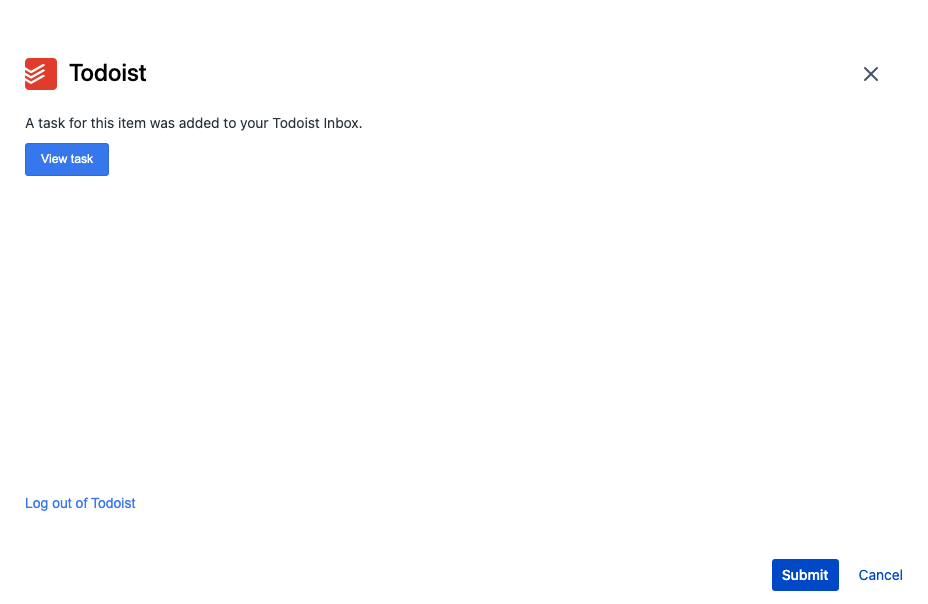
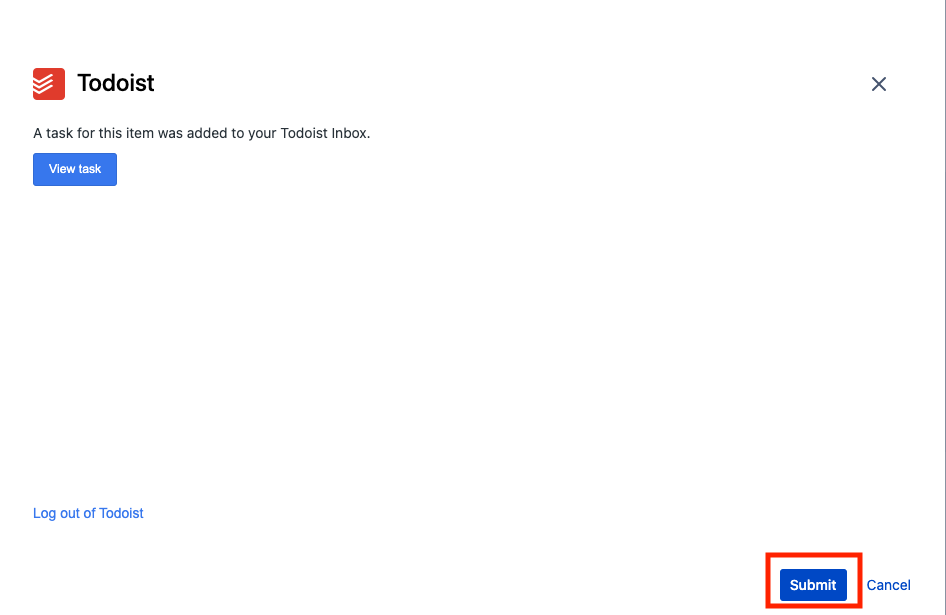
5. 「View task」をクリックします。
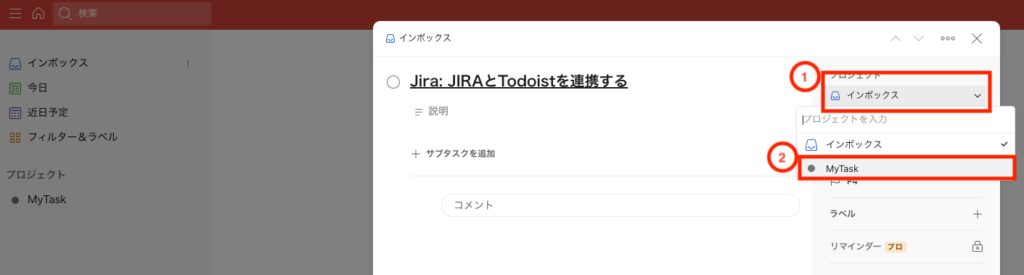
6. Todoistの画面が立ち上がるので、①プロジェクトを選択すると、タスクの作成先を選べるので予め作成していたプロジェクト②MyTaskを選択します。
7.JIRAの画面で、「Submit」を選びます。
2. TodoistとSlackを連携 ( Slack と Todoist )
Slackから下記の操作が可能です。
- タスクを作成すると、Todoistに連携されます。
- タスクを完了にすることができます。
- Slackのメッセージをタスク化できます。
TodoistにSlackアプリケーションをセットアップ
Slackアカウントは作成済みという前提で、設定します。
1. https://todoist.com/slack/begin にアクセスします。
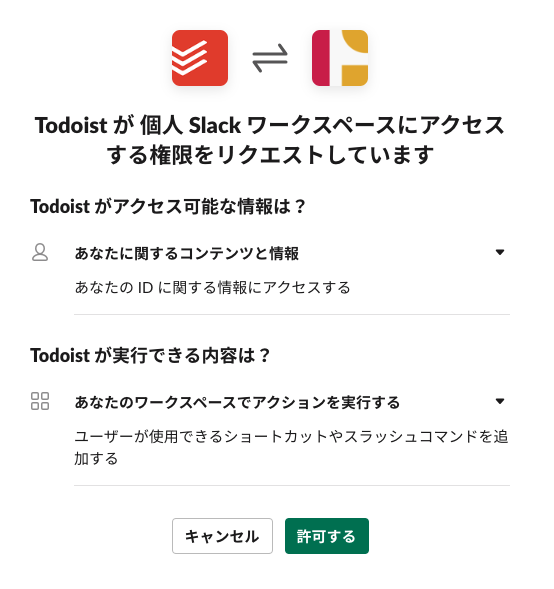
2. 別タブで画面が起動するので、「許可する」をクリックします。
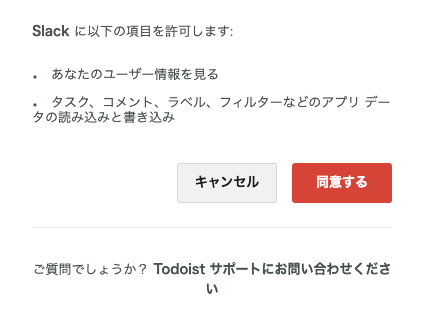
3. 「同意する」をクリックします。
4. 「Slackに追加」をクリックします。
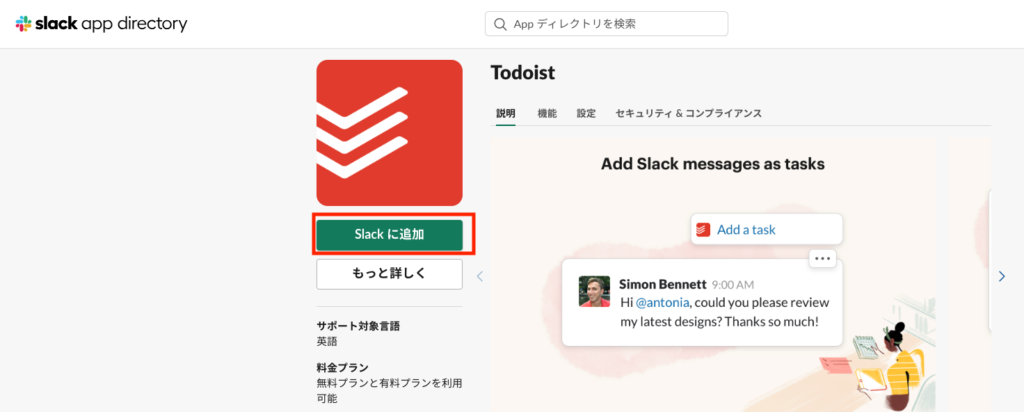
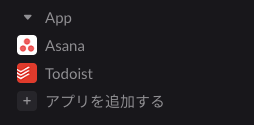
5. Slackアプリに「Todoist」が追加されました。
タスクを追加( Create new tasks )
1. /todoist slack2todoist-1を入力
2. 表示されるので、リンクをクリックします。
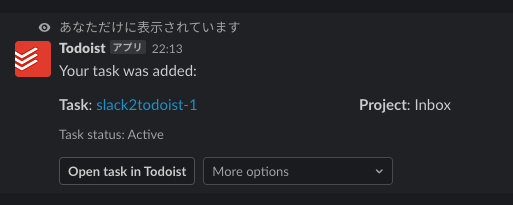
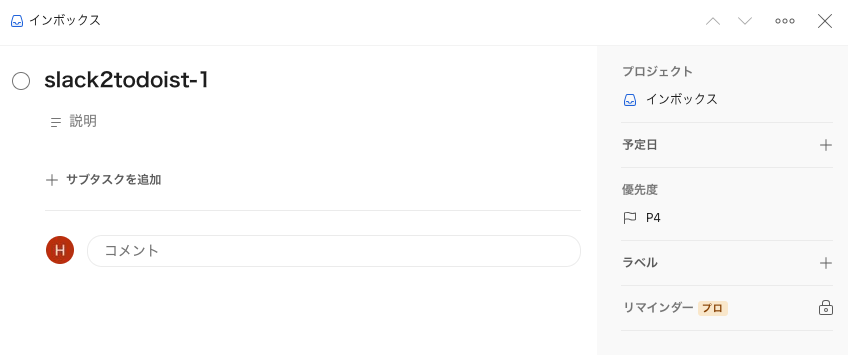
3. Todoistに追加されました。
(オプション)パラメータを追加してみます。
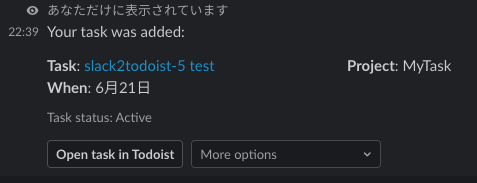
4. /todoist slack2todoist-4 test 21/06/2023 #MyTask を実行します。
- タスク名、期限、プロジェクトになっています。
5. 受け付けられました。
6. todoistにも追加されました。

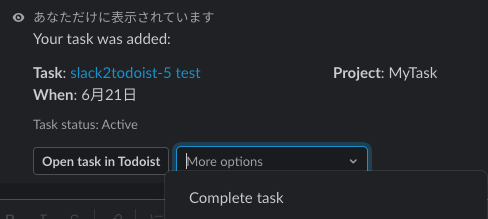
タスクを完了にする ( Complete tasks )
1. 作成したタスクで「More options」を選択し、「Complete task」をクリックします。
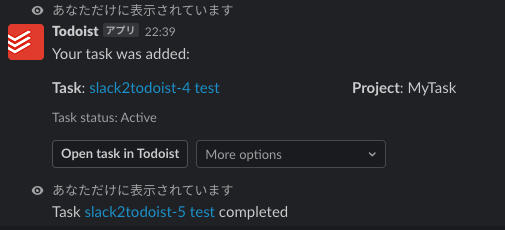
2. Completedになりました。
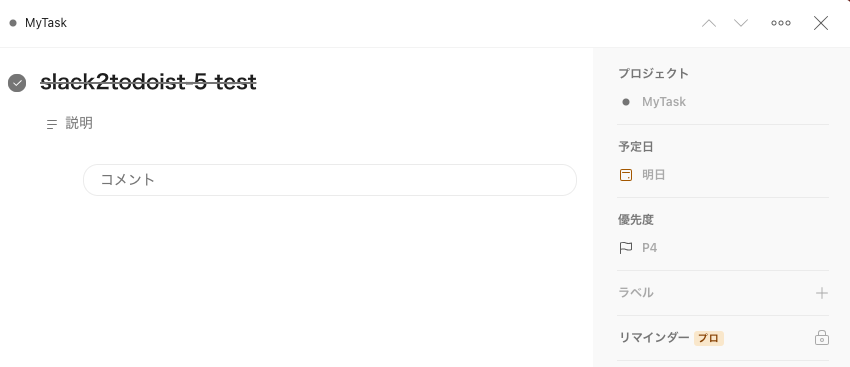
3. todoistでも完了しました。
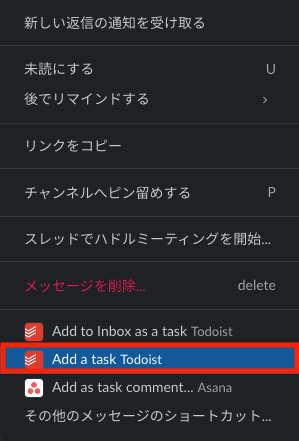
メッセージからタスクを作成(Add Slack messages as tasks)
AWS News がSlackに届いているメッセージをタスク化します。
1.メッセージの右上に表示されている「・・・」をクリックします。

2. 「Add a tsk Todoist」をクリックします。
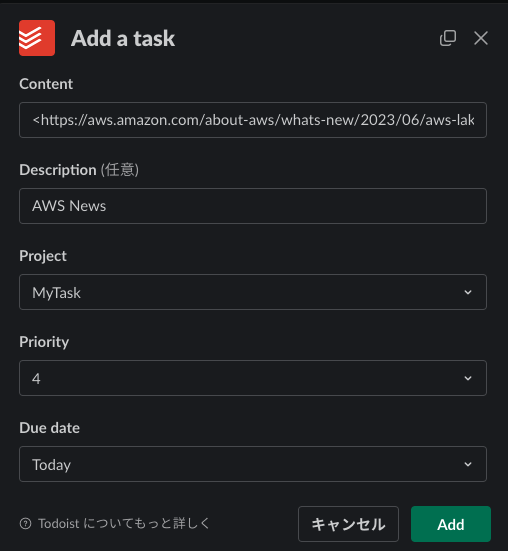
3. 下記を入力し、「Add」をクリックします。
- Contentは、デフォルトのまま
- Description
- Project
- Priority
- Due date
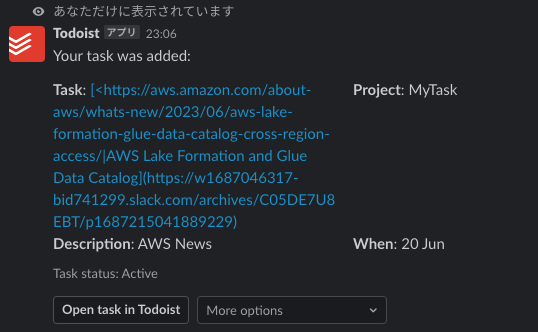
4. 受け付けられました。
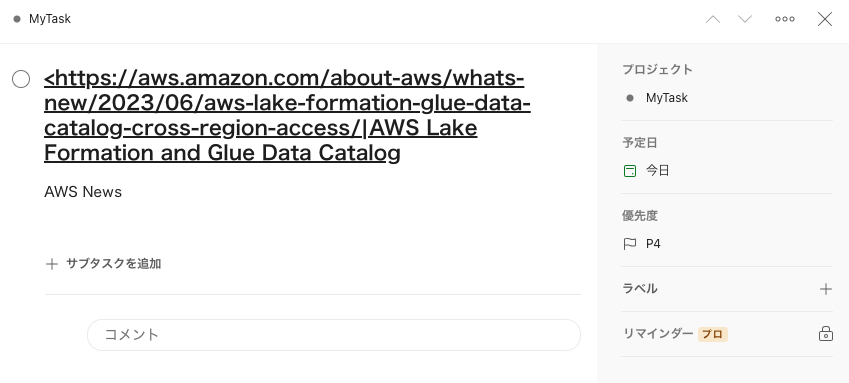
5. Todoistにもタスクが作成されました。デフォルトでは、タスク名にURLが載ってしまいますので作成時に工夫が必要そうです。
3. TodoistとGoogle Calendarの連携 ( Todoist と Google Calendar )
Google Calendarと、Todoistの間で双方向にスケジュールとタスクの作成と更新ができます。
TodoistにGoogle Calendarアプリケーションをセットアップ
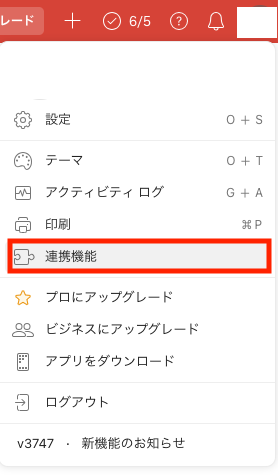
1. Todoistの右上のユーザアイコンをクリックし、プルダウンから「連携機能」をクリックします。
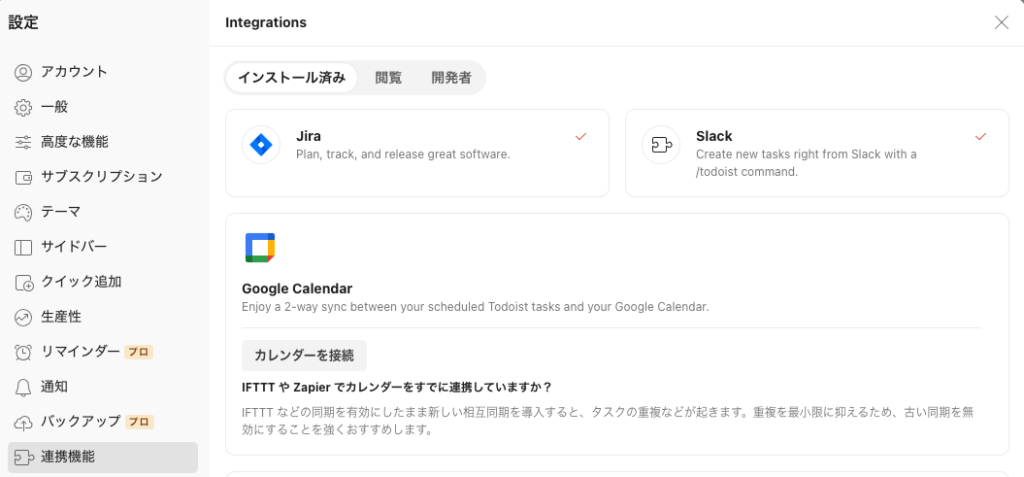
2. Google Calendarの「カレンダーを接続」をクリックします。
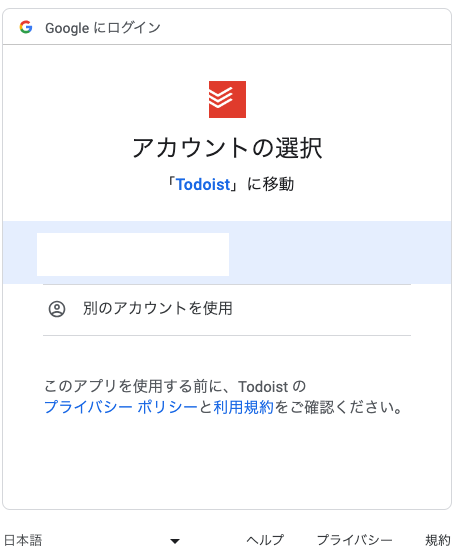
3. Google アカウントを選択します。
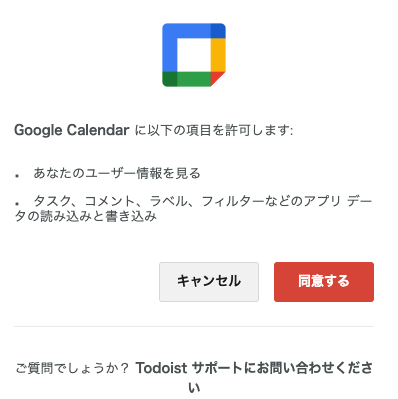
4. 「許可」をクリックします。

5. 「同意する」をクリックします。
6. 下記を入力し、「連携する」をクリックします。
- Google カレンダー:Google Calendarに新規に作成したカレンダー
- 同期:特定のプロジェクト
- Todoistプロジェクト:特定のプロジェクト
- イベントの長さ

Google Calendarにタスクを追加(Google Calendar → Todoist)
1. Google Calendarでスケジュールを作成します。
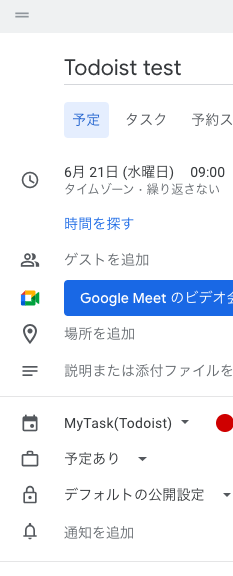
2. Google Calendarに予定が追加されました。
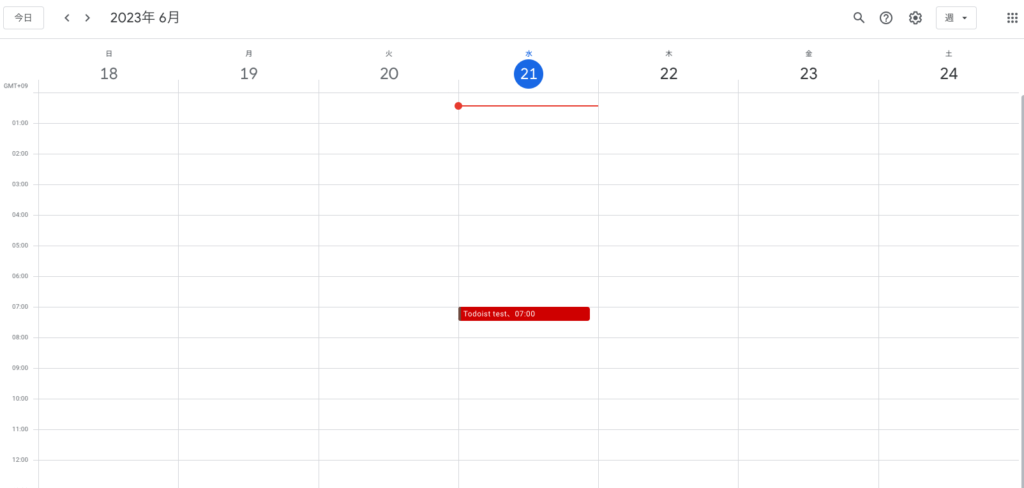
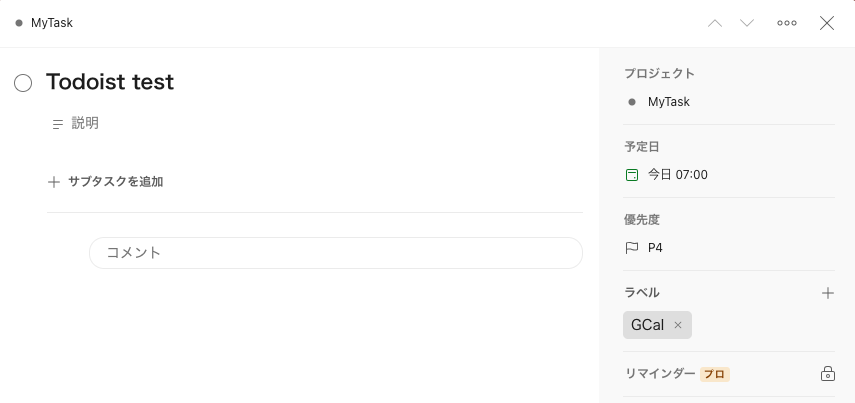
3. Todoistにもタスクが追加されました。
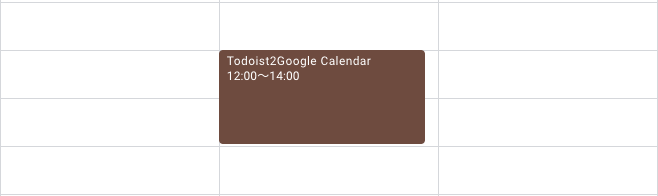
Google Calendarにタスクを追加( Todoist → Google Calendar)
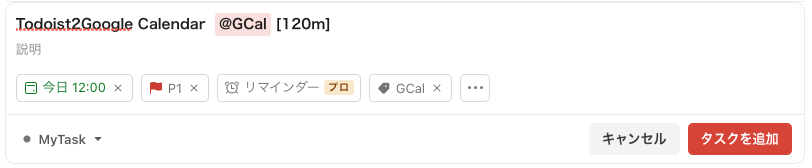
1. Todoistで、タスクを追加します。
2. Google Calendarにスケジュールが追加されました。
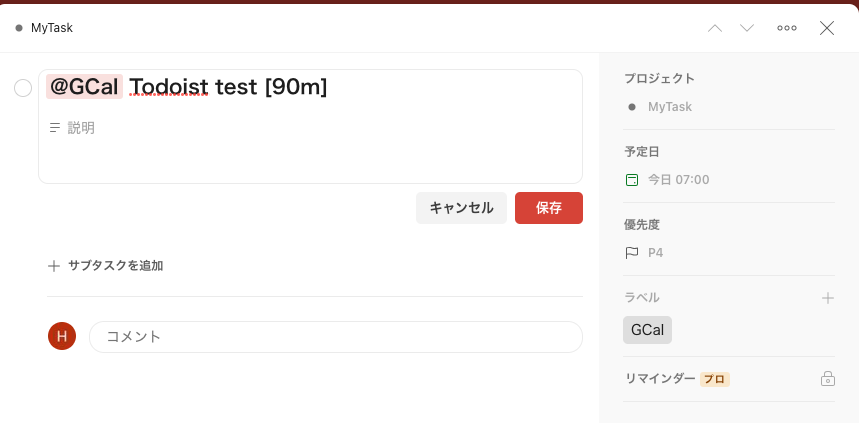
Todoistの時間を変更( Todoist → Google Calendar)
Todoistで時間を変更し、Google Calendarの時間が変更されるか確認します。
1. Google Calendarで作成されたタスクのタイトルに、[90m]と入力し「保存」をクリックします。
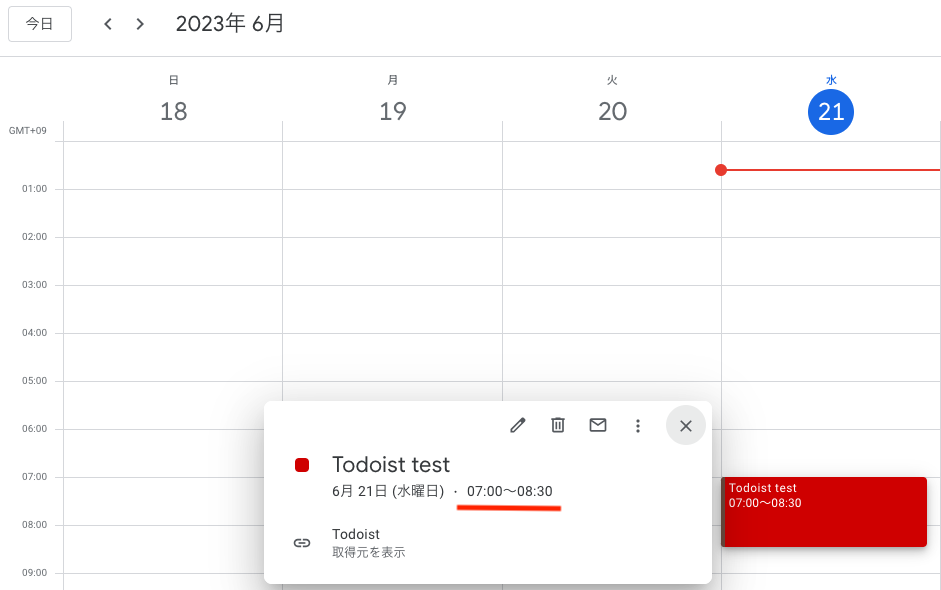
2. 時間が90min(7:00-8:30)に変更されました。
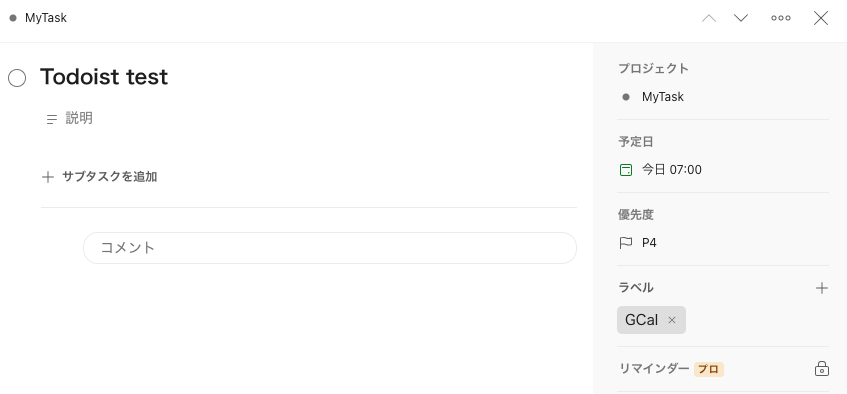
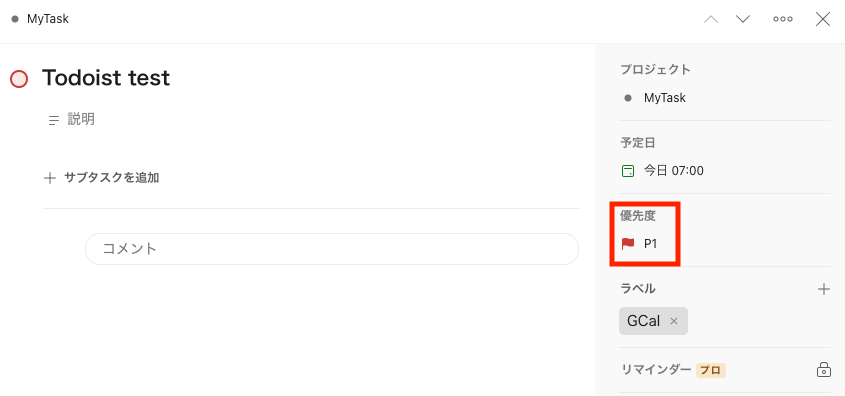
Todoistの優先度を変更( Google Calendar → Todoist)
1. Todoistの優先度を確認します。優先度は「P4」です。
2. Google Calendarのタイトルに、①「!!1」(Priority 1)を付け加えて、②「保存」をクリックします。

3. Todoistのタスクの優先度が「P1」に変更されました。
最後に
今回の記事では、「タスク管理のツール」として、Todoistとその周辺機能について解説しました。現在のところ、Todoistの手軽にタスクを作成できる点と、JIRAとやSlack、Google Calendarとスムーズに連携する点は評価できます。
タスク管理のツールに悩まれている方の参考になれば幸いです。
今回も読んで頂きましてありがとうございました。


コメント